

Introduction
If you are looking at the state of software development you can see that serverless is starting to go mainstream. As complexity grows in software and more integration are introduced to produce a more dynamic and effective application you are bound to need more tooling.
In this article, I want to introduce Architect a serverless framework that might make you think again when looking at going serverless. Architect is an opinionated serverless framework that focuses on reducing the complexity of working with multiple aws cloud services. It prioritizes speed with fast local dev, smart configurable defaults and flexible infrastructure as code. When you see the config file you should be able to tell what is going on and what resources are available. Architect supports multiple runtimes, but for the sake of simplicity and because in Sibi we primarily use node.js.
In this introduction to Architect, we will be building creating a REST endpoint that takes user data converts it into QR code and sends email out using SES with my url.
💡 Please be sure that the email you use for this is example is authorized with SES
Prerequisites
- AWS account
- Node.js
- Some cloud knowledge
Step 1
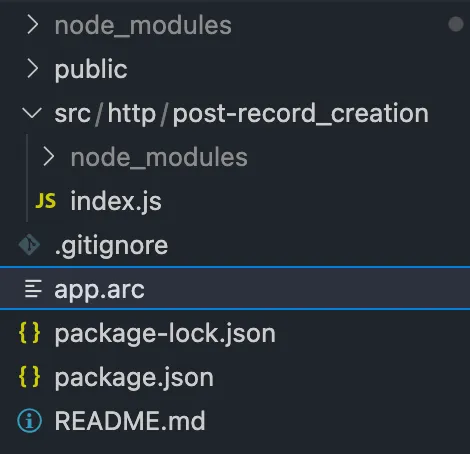
First you we will have to create a new architect app the following command, which should create your boilerplate project with an `app.arc` file.
Your app.arc file is your configuration files, which will be used to create your resources such as lambdas, database, queues as you can see in the code below. There is not much going on but with time this file will grow with time.
Architect takes the complexity of cloud formation, aws's schema language and refines it down into a declarative specification. When you look at the app.arc file, you are able to determine exactly what is going on and what resources were created.
Step 2
Now that we have a starting point let’s start creating some services. First we will need a POST endpoint that will take some user data so we can store for record keeping. This `record-creation` will not only be your route, but also the name in your directory as that is used by architect to determine what to build for what resource.
Let’s install some architect helper functions so you can see a bit more tooling from arc, which will help us parse body json and more.
Now let’s add starter code that will take user data and return a helping message that it is running.
One of the benefits of using architect is the simplicity of running serverless locally as it manages its own sandbox. Just run `npm run start` and if you files and app.arc file is correct should start service running on http://localhost:3333 . Now that that is done, just hit the post.
Response should look something like this:
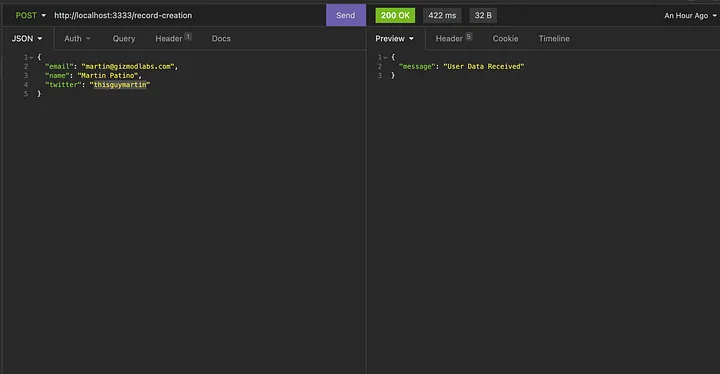
So let’s take a step back and realize what we just did. We created api gateway locally that pointed to a directory that holds a lambda function called `record-creation`.
Step 3
Now let’s do a bit more with this. We should take advantage of AWS lambda and utilize one of the best tools serverless echo system has to offer queues, which in the AWS world that resource is called Amazon Simple Queue Service (SQS) .
Here's what we'll be doing:
- Creating two queues functions
- creating a dynamodb table that takes a index combination of (email and name)
Your app.arc configuration file will have to be updated to add 2 new queues called `notification-handler` and `record-handler`.
Now that we have updated the configuration file we will create similar file structure, but instead of adding http directory we will be creating under queues directory. You can do this manually or run `npx arc init` this command will read app.arc file and create all new corresponding files.
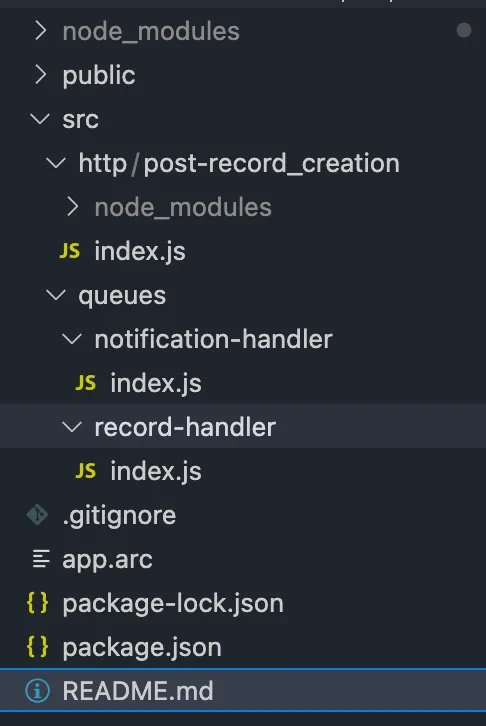
If you look at the app.arc file you will notice that each queue has it’s own corresponding directory. So `record-handler` directory will handle all record-handler queue events that are published to it.
Let’s modify the `record-creation` so it publishes to a queue `record-handler` .
Now let’s have modify the record handler that will save it to dynamo db and push it to a new queue as this function is only responsible for saving the record. You can see we use @architect/functions , which allows us to connect to dynamo db instance and save events for more on this see arc.codes docs.
Now that we are publishing to `notification-handler` queue let’s do a little more let’s handle the event and push out a email using aws-sdk , with a qr of your twitter handle.
Step 4
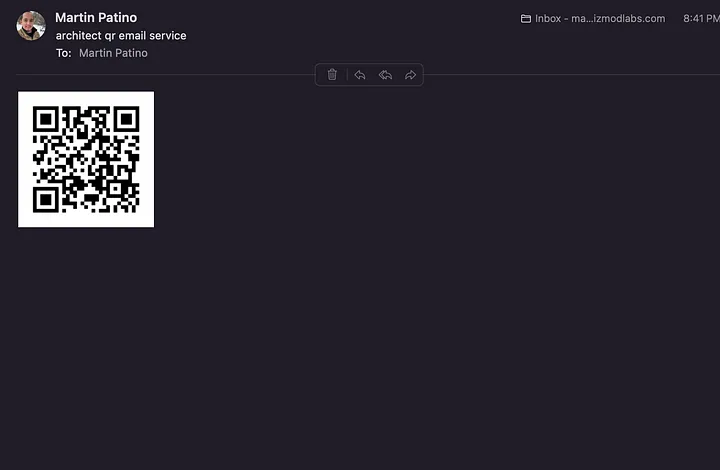
Let’s test what we have now locally by running `num run start` and triggering the same rest endpoint as before your result should be QR code in your terminal and email.
I would like to note that email you use should be authorized in AWS SES for this to work. So any issues go here to get this done.
The result in your email should be something like the following:
Step 5
One additional thing you will need to do is create custom AWS policy to give you access to SES service. Simply go to IAM in your AWS console and create a policy under SES service so you can manually add the JSON policy. Please name the policy `ArcSESPolicy` as you will need it to match your custom macro later.
What is a macro ?
A macro extends the functionality of your architect app with standard CloudFormation. It allows developers to add any resources or modify existing ones extending Architect into the entire AWS ecosystem supported by CloudFormation
So for us we will add a new field in app.arc and add new directory called macro. In the macro directory add `add-policies.js` .
Configuration File

add-policies.js code to be added
Step 6
Let’s deploy this baby to AWS for that all you have to do is run `npx arc deploy` , which will deploy a QA stack for you. This deploy commands reads your app.arc configuration files and creates your cloudformation file that will be used to create all resources.
Once that is completed you can verify all the resources we're created.
SQS queues:
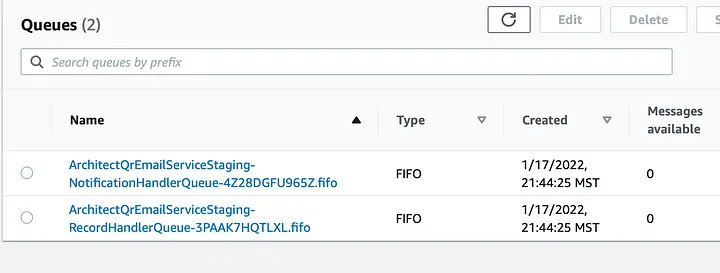
Lambdas:

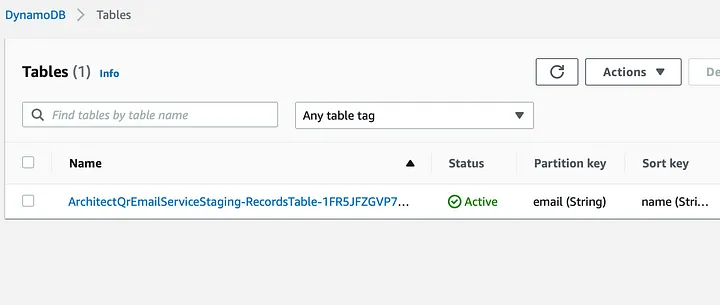
Dynamo table:
API Gateway:
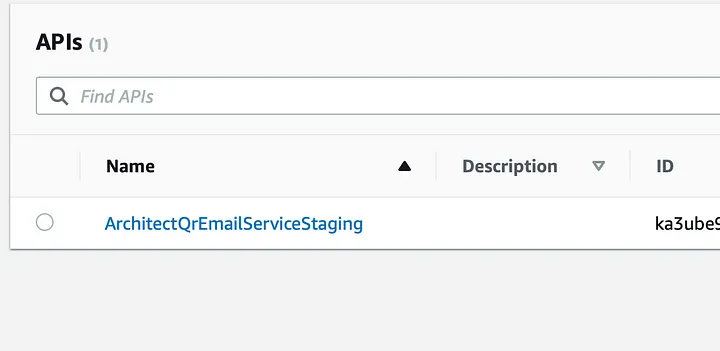
Now that we verified all the resources let’s test the url that your deploy script should have produced. Mine looked something like this `https://ka3ube9vj6.execute-api.us-west-2.amazonaws.com` .
With that I will just trigger gateway with the same route as before of `record-creation`.
If everything works correctly you should be getting qrcode email from your aws service same as before.
🛑 If for some reason you do not get a email. This could be do to a error possibly permission reason. I would recommend that you purge your queue with dangling message and debug the issues if not your message will be dangling their until the issue is resolved. See cloudwatch for logging information.
Step 7
One you are done and no longer want the project in your aws account simply run `npx arc destroy --app architect-qr-email-service --force` and should delete all resources and dynamodb tables.
Thank you for joining me on this serverless journey of yours and I hope this gave you a small taste of the power of Architect.
Here is the GitHub repo if you require further info: https://github.com/thisguymartin/architect-qr-email-service or assistance.


